If your proxies aren't working as expected, the first step is figuring out whether you're dealing with a connection problem, a configuration issue, or a restriction from the website you're trying to access.
This guide will help you narrow down the cause and point you to the right troubleshooting resources.
➡️ Start Here
Is the proxy failing everywhere or only on one website?
Try your proxy on a neutral website or IP-checking service first.
If the proxy can't connect anywhere, the issue is more likely related to authorization, credentials, account status, or configuration.
If the proxy works normally on other websites but fails only on a specific target, the proxy itself is likely connecting successfully, and the target website may be restricting the IP, proxy type, or traffic.
➡️ Check Your Connection
Are you using the correct proxy details?
Confirm that you're using the host or IP, port, username and password, protocol, and authorization method provided for your specific proxy service.
Because connection details vary between products, use the current information shown in your Rayobyte dashboard rather than an older saved configuration or connection example.
For Residential, Rotating ISP, and Rotating Datacenter Proxies, current connection and authentication guidance is available in Rayobyte Docs.
Could authorization be the problem?
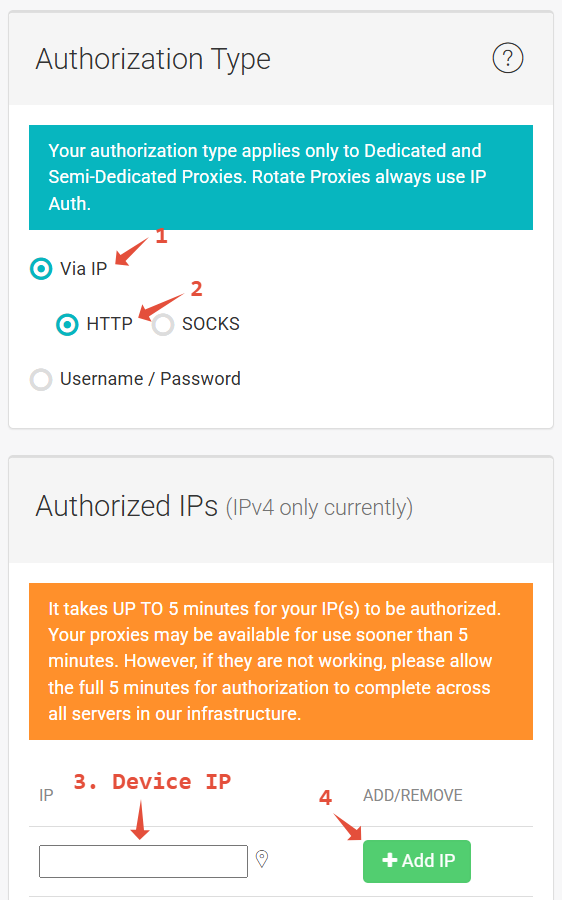
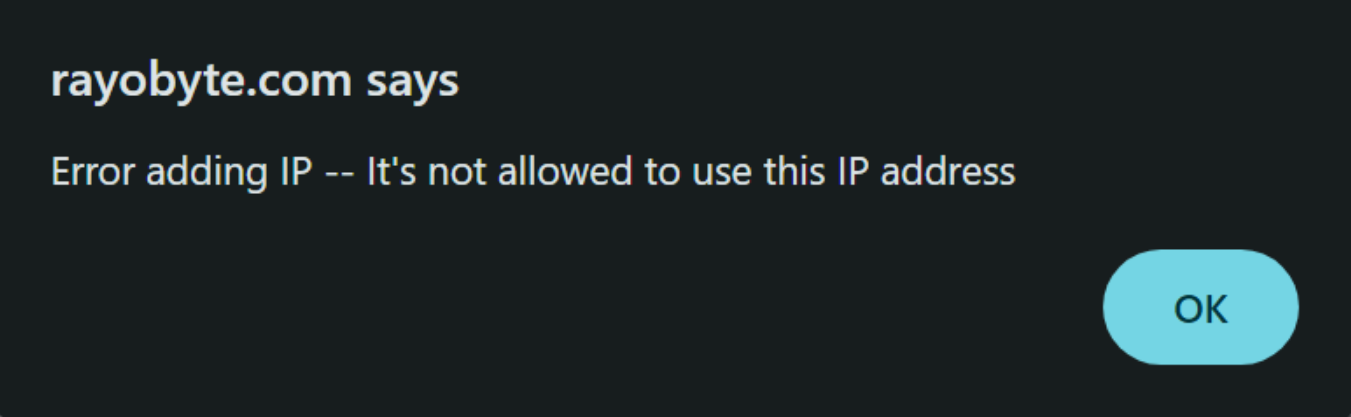
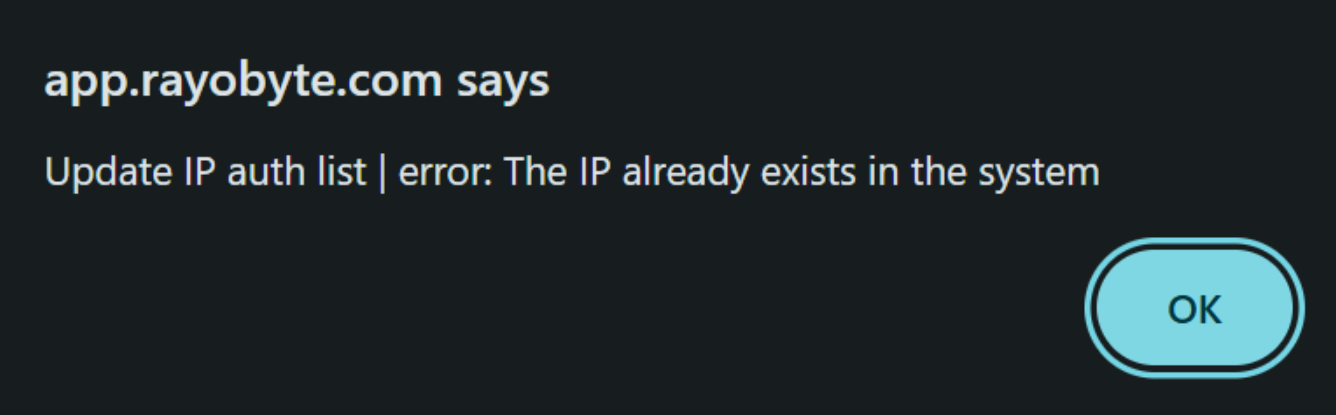
If your proxy service uses IP authorization, make sure the public IP you're connecting from is currently authorized. If your internet connection or network has changed, your public IP may have changed as well.
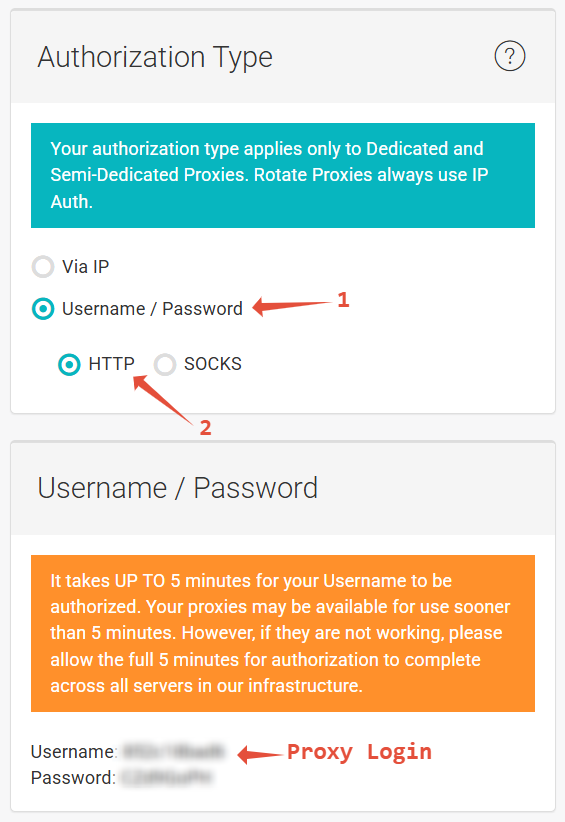
If you're using username and password authentication, confirm that you're using the current credentials associated with the proxy service.
➡️ Verify That the Proxy Is Working
How do I know if my proxy is set up correctly?
Connect through the proxy and visit an IP-checking service. The IP displayed should reflect the proxy connection rather than your normal local ISP connection.
For Static Proxies, you should generally see the assigned proxy IP. For rotating services, you'll normally see an exit IP from the proxy pool, which may change depending on the product and session configuration.
If the website still shows your normal local IP, your traffic isn't being routed through the proxy and you should recheck your application or browser configuration.
What if the proxy works in one application but not another?
If the same proxy works in one environment but fails in another, the issue is likely related to the configuration of the application that's failing.
Compare the host, port, protocol, and authorization settings between the working and non-working applications.
➡️ Website-Specific Issues
Why does my proxy work on some websites but not others?
A successful proxy connection doesn't guarantee that every website will accept the exit IP or traffic.
Websites may restrict requests based on IP reputation, proxy type, request patterns, rate limits, automation detection, or their own security policies.
If your proxy works on an IP-checking service and other websites but consistently fails on one particular site, investigate it as a target-specific issue rather than a general proxy connection failure.
Also keep in mind that a website response such as 403, 429, CAPTCHA, or an access-denied page can come from the destination website even though the proxy connection itself succeeded.
➡️ Rotating Proxy Troubleshooting
What should I check if my rotating proxy isn't connecting?
Start with the simplest possible connection before adding targeting or session options.
Confirm that your account is active and has available bandwidth, then test the basic proxy connection. Once that works, add any targeting or session parameters back one at a time.
This makes it easier to determine whether the base connection is failing or whether a specific option is causing the problem.
For Residential targeting issues specifically, see our Why is my targeted Residential Proxy not connecting? troubleshooting article.
I'm receiving a proxy error. What does it mean?
Rayobyte proxy error codes can help identify whether the issue involves authentication, targeting availability, destination restrictions, rate limits, or a temporary connection failure.
For current error meanings and recommended actions, see Proxy Errors & Retries in Rayobyte Docs.
➡️ Need Help?
If you've completed the checks above and your proxies still aren't working, contact our Support team and we'll help narrow down the cause.
To help us troubleshoot faster, please include:
- The proxy product you're using
- The website or application you're testing
- The error message or behavior you're seeing
- Whether the proxy works on a basic IP-checking service
- Your authorization method
- The approximate time of a recent failed test
- A screenshot or example of your configuration, if relevant
Please mask your proxy password and any other sensitive credentials before sending screenshots, logs, or configuration examples.
Email: support@rayobyte.com
Submit a Ticket: Contact Rayobyte Support